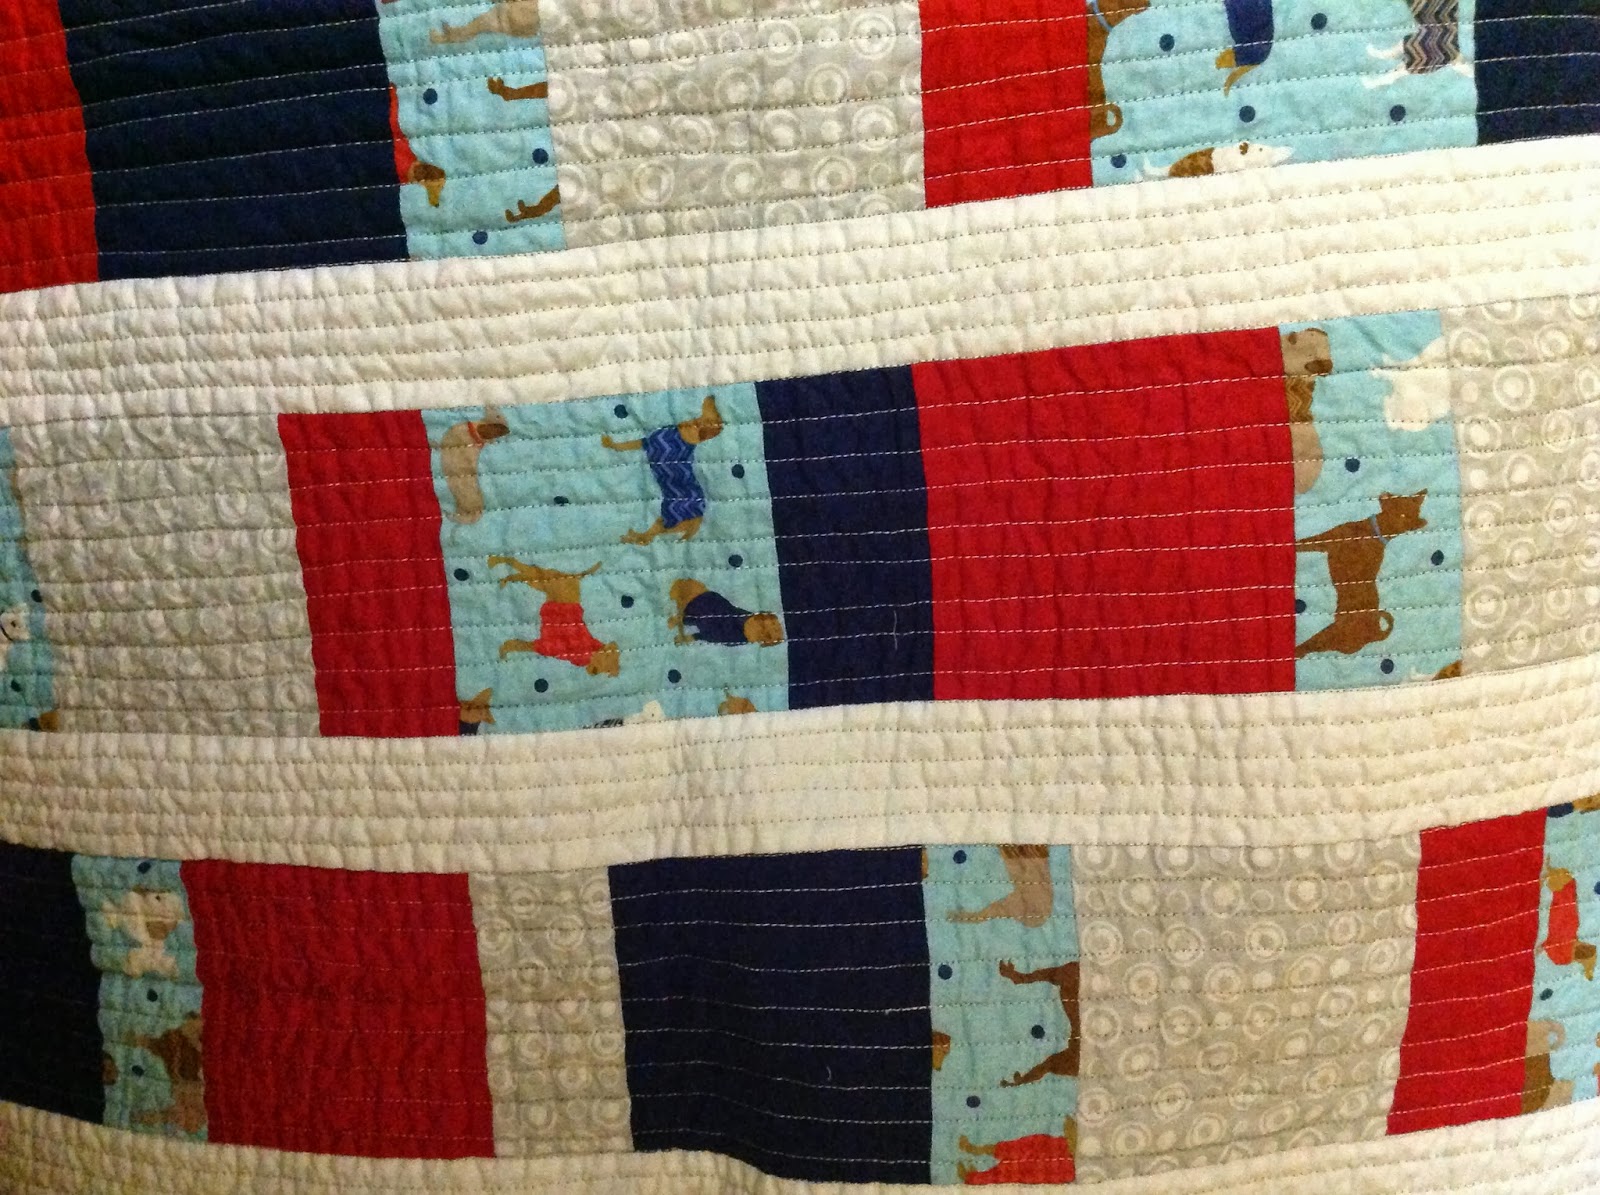
Saturday, December 7, 2013

Week 11 - Top sections sewn together!

I have been so busy with my quilt entry into Missouri Star Quilt Co.'s Iron Quilter contest that I put the Nyan Cat quilt on the back burner for a bit. My entry into the contest is submitted and if you'd like more info on it you can read my blog post here.

If you are just catching up I have been participating in a Nyan Cat quilt along and I have to give mad props (yeah, I went back with that) to the young lady who presented this quilt along. She has a ton of fun tutorials on her site and this won't be my last one, not by a long shot.

When I first looked at the nine sections that I had completed I started to panic thinking that they wouldn't fit all together the way that I needed them to. I started pinning the sections together according to the quilt along instructions and I started feeling more at ease as I saw it all come together. I made sure to line up all seams where Nyan Cat's colors transitioned from one section to another and even though I know every quilter doesn't do this, I pinned every seam open so I could sew straight flat across it.

I think it paid off in the end but of course I'm partial to my own work so I'll leave it to you to decide.

The next step will be to make a backing. I really do not have any funds in my quilt jar (especially since I want to buy myself a machine within the next couple of months) so I think I will use fabric from my stash and from my scraps to craft up something.

I definitely want to make a multicolored binding like I did with my Iron Quilter 2 entry. The young lady who wrote the Nyan Cat quilt along also made a multicolored binding for her completed quilt.

I don't know how I am going to quilt it just yet but it will be interesting to say the least.

Moving right along, I am proud and happy to present my Nyan Cat quilt top which has been completely pieced together.


Please comment and let me know what you think!


Wednesday, December 4, 2013

*Update to the Iron Quilter Contest 2 voting* *You can vote in Facebook now*

Missouri Star Quilt Co. has FINALLY decided to put the contest back on Facebook as in the original rules of the contest!  Please visit my entry on their Facebook page to vote for my quilt! I need all the help I can get! I am a beginner quilter and when you see the competition, I am up against far, far more advanced quilters than myself. I wish they had categories for beginners but it is based on the number of votes for the initial voting round which ends on Dec. 8. The top 25 entries with the most votes gets to go on to the next round of voting. Even if I don't make it I am so glad I entered! This has been a really fun ride and I hope to do it again and again! Thank you all for your support!  ~~~ Annette

Tuesday, December 3, 2013

Iron Quilter 2 Entry!!

Finally, I've posted a pic of my quilt entry into the Iron Quilter 2 contest:

Please +1 my entry in Missouri Star Quilt Co.'s Google Plus page by clicking ----->  here
Give it a few seconds to let my pic load. You will need a Google or Gmail account. Please click just once to +1 the photo of my quilt. If you click twice you are undoing your vote.  

I am extremely proud of my quilt because it is the first one I've completed that is larger than a baby quilt. 

Here are some details about the quilt:

*I followed a tutorial on Incolororder.com to create this patchwork chevron. 

*I used four charm packs of Debbie Beaves' Lovely for RJR fabrics and some white yardage (that I always keep on hand) for the top. For the back, which isn't shown yet (I'll have to snap a pic later) I used yellow small print flower yardage. For the binding, I broke open a Kona Cotton Solids by Robert Kaufman "dark palette" jelly roll and used some of the strips for binding. I love the transition of the dark colors along the outside edge.

*This entire quilt was pieced AND quilted on a basic machine,  my trusty Singer Simple 3116. Right during the end, I could hear a change in the sound of the motor and I felt a difference in the power of the motor. I was deathly afraid that she'd give up and just stall but she didn't. 

* I used a quilt ruler and a #2 pencil to mark one inch lines in the negative white space and I used my sewing machine equipped with a generic walking foot to quilt those lines. In the patchwork area I used a sloppy meandering pattern. I say sloppy because there are places where it crossed over and I actually fell asleep a few times while doing it. 

* The actual quilting took me two full days. Thank goodness for Netflix and Dexter. 


Here are some of the details about the contest:

*It is hosted by Missouri Star Quilt Co. and the details about the Iron Quilter 2 contest can be found here.

*Let me tell you, the competition is fierce! I LOVE looking at all of the entries!

*{This is so exciting!} There will be about a week of initial voting to determine the top 25 quilts. After that, at a later date, there will be a final round of voting.

Thank you for visiting my page and I hope you enjoy my quilt!!!

Sunday, December 1, 2013

Iron Quilter 2

Update: Missouri Star Quilt hasn't put up the contest entry photos yet so I don't want to reveal too much about my quilt until it is up. When it is (and I've read somewhere that it will be Monday) I will begin posting.


I have been really busy lately and I have been meaning to finish up my Nyan Cat quilt but have yet to do so.

I do have to let you know why I have been so quilt busy! I have entered Missouri Star Quilt Co.' s Iron Quilter 2 contest!

I now realize that I chose too big of a project for my poor Singer Simple 3116 but she stuck by my side every step of the way and didn't let me down.

I will follow up this post later in the day (Sunday) with more info about my quilt, the contest, the quilt pattern I used, the fabric, and the quilting techniques, quilting designs, supplies, and so forth.

May the quilt be with you!!!


Wednesday, November 13, 2013

Week 10 Section 9 - DONE!!

It. Is. Done. Well...not exactly. But at least this section is! I can't tell you all how much I've enjoyed following this Nyan Cat Quilt-along. Just one part to work on per week gave me the quilt fix I needed and built up anticipation for the next week.

When I got down to sewing together this last section I will admit that I rushed through it tonight and I can see a little bit of wonky seams. Eh. Overall, I think I did a darn good job. And I couldn't have done it without the excellent tutorial quilt-along written by Choly Knight. I love to see someone so young and accomplished and passionate about what they love to do!

I am so happy that I decided to follow my own crafty heart and take up the hobbies that I've always longed to do. Doing this makes me a better mom, a better half, a better person overall. Okay, enough mushies.

Here is my version of the last pieced section:


Week 10 Section 9 - Cutting

So we are at the last section of the quilt from the Nyan Quilt-along and I can't believe the time has flown by so fast!

I was far too busy last night with schoolwork to even entertain the idea of working on it so I left it until this morning and decided that before I go to work I'd get the cutting done. I ironed my remaining fat quarters, took out my trusty ruler, and released my rotary cutter on the world. Okay, drama much?

Anyway, I couldn't resist at LEAST cutting them because the rainbow colors looked so yummy. Stuffing a fat quarter in my mouth would be counterproductive so I resisted the urge.

Anyway, I can't wait until I get home tonight so I can piece these lovelies together!!

Until then...


Friday, November 8, 2013

Week 9 Section 8

This was yet the HARDEST part of the Nyan Cat Quilt-along so far. Week 9 Section 8 definitely kicked butt this week. I actually fell asleep at the machine at one point and knew it was time to go to bed! I can finally celebrate though, because I got through it. I am at the point now where I'm getting restless and I can't wait to see the finished product. I think I can hold on, just a little longer. Here is my version of Nyan Cat's pretty little head:


Wednesday, November 6, 2013

Week 8 Section 7

If you're hanging in there with me you've seen the parts of the Nyan Quilt I've completed so far. This is my first quilt-along and I am so anxious to see the end result!  You can follow along with the quilt-along here

I have finally reached Week 8 Section 7. This part covers a large portion of Nyan Cat's poptart body. 

I ironed my fabric before I sewed it this time and it turned out rather well. One thing I didn't do was to pay attention to my light pink direction print.  Some stars are going sideways but that isn't an issue for me. 

Well, here it is...

Drumroll please...


Tuesday, November 5, 2013

Week 7 Section 6 DONE!!

I am done with Week 7 Section 6 (finally)! This is the top of the poptart body.
I'm actually falling behind here in the Nyan Cat Quilt-Along but not by much. I've been so busy with kids/home/work/school so I try to squeeze in my crafts anywhere I can.

I'm really excited to actually be moving on to more colors and I'm so glad I chose the colors I did. My light pink fabric has glitter and tiny stars on it. That's right. Glitter. Anyone who knows me knows I love glitter.

Anyway, one thing I had to work through during this stage of making the quilt was to piece together parts of the fabric to create a long enough piece that was needed. I needed a 29" piece for both the black and the beige but seeing that I bought only fat quarters, my longest edge was about 22".  No biggie, but I worried about how it would look. To be honest, I don't believe anyone would notice it if I hadn't pointed it out.

Without further adieu I would like to present my version of part A2. Sorry about the shadowing and off colors. I don't  have many lights on and I was using my iPhone.


Wednesday, October 16, 2013

Week 6 Section 5 done!

I am done with Week 6, section 5 which are made up of cute little Nyan Cat's feet! This Nyan Cat Quilt-Along is definitely beginning to get harder.

It is so hard for me to stick with one project before jumping headfirst into another but I am determined to stick this out. Just from what I'm seeing so far I believe this is going to be a great quilt.

I was a little worried because my galaxy background fabric is very dark and I'm hoping the black cat outline doesn't get swallowed up in it. I don't think it will because the background fabric has a lot of sparkle whereas the black fabric I used for the outline is a smoky batik-like (yes, I said batik-like) color.

Take a look:


Week 6 Section 5

Hello again!

I am excited because Week 6 is finally here in the Nyan Cat Quilt-Along! Tonight I am up really late and I am too exhausted to sew. Plus my significant other would not be pleased if he awoke to the sound of the sewing machine.

Instead of sewing the section together tonight and posting it, I took care to cut my fabric and label it. Therefore it is ready to put together and sew and I will resume tomorrow.

Here is a picture of my cutting mat with my carefully cut and labeled pieces. Goodnight, folks (at least in my home)!


Friday, October 11, 2013

Week 5 Section 4

I'm still here! If you're following I'm still in the Nyan Cat Quilt-along and I've just finished section 4. 

Tell me what you think!


Thursday, October 10, 2013

snEEK pEEK!!

Do you remember my snEEK pEEK from a few weeks ago? No? Here's a refresher:

Yes, that's right! It was a string block. I wanted to use up some odds and ends I had.

Anyway, I've made a little progression on it, see:


I think I'm going to do something really simple with it. I think I'll make the letters to spell Boo and then in the last square put an applique of a ghost.

I'll take more pictures as I go. Halloween is almost here!!

Wednesday, October 9, 2013

Week 4 Section 3

I'm sticking with it! I'm loving the results so far. If you've been following along you know that I am participating in the Nyan Cat Quilt-Along. I started late so I'm hurrying to catch up and that's just what I'm doing.

Here is my version of Section 3 of the quilt, enjoy!


Week 3 Section 2 Done!

Moving on... I couldn't stand to leave home this morning without completing this second part of the quilt associated with the Nyan Cat Quilt-Along Week 3 post. Seriously, it would have bugged me all day at work and I wouldn't have been able to concentrate. I'd be thinking about the fabric, just waiting for me to come and cut it.

So I got up this morning and decided, the heck with it, and here it is:


This part worried me a bit because it doesn't line up perfectly. I think that may be due to the fact that my 1/4 seam allowance is not perfect.  Eh.

I'm going to keep going and not look back. I may have to revisit it to tweak something but for now, moving on.


I'm participating in the most awesome Quilt-along!! (Week 2 Section 1)

One thing that you may not know about me is that I'm an almost-38 year old who loves a mixture of the strangest things. Things that most people my age wouldn't be interested in. But I am. And I refuse to change.

I love video games. I love crafting. And not just quilting and knitting. I love painting and I love creating things made of polymer clay. I make duct tape wallets. I sprinkle glitter randomly. I doodle in meetings.  I fold origami cranes. I crochet the most kawaii cups of hot cocoa. I love horror movies and all things geek chic.

And that is why when I saw this Nyan Cat Quilt-along I couldn't resist the opportunity to jump in! I love the way the fantastic designer puts this together in different sections! Her directions are concise and she includes lots of diagrams and pictures. I'm so excited to follow her quilt-along! As of today I am behind in the group but since she posts the steps weekly, I'm sure I'll catch up. I just started cutting and sewing tonight and I've completed the first section. This quilt will be given to my oldest daughter who loves Nyan Cat also!

Here it is in all of its starry splendor:


Let me share with you information about this fabric. First of all, too many people have advised me against buying fabric from Wal-Mart. As a matter of fact, the lady in front of me in line at the cash register went on and on about the cheap quality of the fabric...blah...blah...blah. Guess what, my pocket was in Wal-Mart mode and Wal-Mart is where it lead me so there it is. And if I hadn't gone there I wouldn't have found this awesome galaxy print that I'm using as the background. It looks like a batik with sparkles. The white is actually a patterned fat quarter.

Hey quilters, do you ever get that overwhelming feeling of satisfaction when you piece something together and your seams line up perfectly? That was me tonight and I'm saying this because it doesn't happen all the time. When I sewed my pieces together and then peeled it back I practically did a victory dance in my sewing room!

Wednesday, October 2, 2013

Change of heart

So in my last post I listed two of my WIPs. One is a lap quilt for my mother-in-law and the other is a baby quilt for my niece's newborn son. I had a change of heart at the last second with the baby quilt. I decided to go in a different direction to make it more youthful so I will keep the other one for something else.

One thing I've learned that was of great importance was to square up your quilt. I was in such a rush with the baby quilt I did not square it up correctly on all sides. Another thing that I did was I should have alternated my sewing directions. The quilt is a bit bowed, it's a lot bowed in the middle!! It's a lot more obvious as you look across the quilt.

Somewhere along the way I messed up my seam allowances. This would've been okay had I made the quilt taller. So in the end I ended up with a very small baby quilt. Basically just big enough to lay your newborn on or big enough for him to drag around and cuddle with when he gets older.

I found the tutorial for this blanket on Elizabeth Hartman's "Oh, Fransson! site here. It is a super easy (unless you are me) pattern for a beginner and you can download a PDF of the pattern right from her page. She has a bunch of different patterns that she offers for free and she has some super-neat patterns in her Pattern Shop and in the book she published.

I do intend to make a bigger lap version of it in the near future. Enjoy!

I purchased individual fat quarters from Walmart to make this quilt top and I purchased one pre-cut packaged yard from Walmart for the back. I paid less than $10 for the entire thing. Score! I quilted this on my Singer Simple 3116 using a Walking foot. I used white thread for the top and brown thread for the bobbin. I sure wish I had a new machine. THAT is another post for another day. Anyway, here are a few pics of the quilt:


"Initial layout"


Had it folded and ready to go so I had my daughter unfold it


Wavy-like quilting


Wednesday, September 4, 2013

WIPs

I wanted to put two of my more current WIPs (works in progress) out there for you to see. The pink and white quilt top I am making for my mother-in-law and the  purple/blue/yellow/white quilt is for my niece who is having her first baby, a baby boy.

This quilt top was started back in February for my mother-in-law but never finished. I don't remember off the top of my head the name of the fabric line but I will find it and update this post. I believe it was a charm pack.
**EDITED: The name of the charm pack is Coquette by Chez Moi for Moda Fabrics**

I believe I used plain, white yardage for the sashing and I also used a bit for the disappearing nine-patch.

The disappearing-nine-patch blocks are not done the same throughout the quilt. I turned them different ways. When I was  done with the block and sashing I realized I wanted the quilt to be larger.

Luckily, I had some extra yardage of the pink fabric in my small stash and I had been holding on forever to it. I used it as a border to increase the size of the quilt. I still have to buy batting, and choose fabric for the backing and for the binding.

~~~~~~~~~~~~~~~~~~~~~~~~~~~~~~~~~~~~~~~~~~~~~~


 The second quilt top is for my niece whose baby is now overdue. I didn't want to make a traditional baby blanket so I opted for a more modern look with the fence rail variation. I still have to buy batting for the middle and I think I'll make the back a solid blue. I was thinking of working with minkie fabric but I've never used it before and I don't have time for trial and error. With my time constraint I may just opt to stitch in the ditch or do an overall s or wavy stitch. I don't think it will be large enough for a crib blanket but it will be to lay the newborn on and later for him to drag about. Excuse my daughter's goofy pose. She always likes to ham it up in front of camera.


Sunday, September 1, 2013

snEEK pEEK!!!!!

I am working on a small Halloween-themed wall hanging. I've drawn up a few layouts and ideas of what I want to include in it. Here is a snEEK pEEK of one of the blocks...


Stay tuned for more pictures!!


Friday, August 16, 2013

Rag quilts are fun and easy!


Rag Quilt Front
My  teen daughter (13) just loves Elmo. Don't ask me why, I'm still trying to figure it out. Not that he isn't just so darn adorable and cuddly and giggly, I just thought it seemed weird that a teen would still love Elmo. After all, her older sister who is 18 had her entire nursery decorated in Elmo!  Anyway, my daughter and her friends love Sesame Street characters!

For Christmas 2012 she wanted an Elmo lap quilt so I scoured the Internet looking for some good rag quilt tutorials and with a combination of tips from blogs and videos from YouTube I found enough information to finally begin my project.

~~~~~~~~~

SHOPPING FOR THE ELUSIVE FLANNEL

I went to work looking for flannels that would fit the bill. I did end up finding some Elmo and Sesame Street themed flannels from Joann Fabrics so I went ahead and made my purchase. I also bought several bright primary color flannels in blue, red, yellow, and green.
                                                              ~~~~~~~~~

CUTTING OF THE SQUARES

I have NEVER cut that many squares in my entire life. And that includes all the paper I ever cut in Kindergarten and up. And then I cut the batting also into squares. I really don't remember how much fabric I originally asked for but I cut up the entire amount into squares.

~~~~~~~~~

PROJECT BLUEPRINT ACTIVATED

After the cutting, things started getting a little obsessive for me. I get a little crazy when it comes to patterns and numbers so I brought out my graph paper and my red, blue, yellow, and green markers. I counted all my squares of cut material and made a notation of how many I had of each color. With that number I figured out just how large my quilt would be (how many squares across and down). I created the quilt pattern by coloring in squares on my graph paper until it all came together the way I wanted it to. That took an entire day and then night. I drew tons of grids and then slept on it. When I found a grid that worked I used that as my blueprint. I referred to it while I sewed my squares together, and then my rows.

My plan of action

~~~~~~~~~
FRINGE FANATIC

Fringes cut and ragged
And oh, the cutting (and cursing) that ensued. After my first night of snipping and created the raggy fringes, I went out and bought a pair of spring-loaded scissors. Best purchase ever. It took me about two weeks to finish cutting. I cut every night before I went to bed. I find it disturbing that even after showering and getting into bed I was still finding fabric lint and thread in places that it didn't belong.

~~~~~~~~~

RAG IT UP!

When all of the fringe snipping was finally complete I took the quilt to a laundromat next to my job and washed and dried it in one of the huge commercial machines. There was no way I was going to put that thing into my washer or dryer at home, it would have surely ruined it. Anyway, the pictures show the end result of a one-time rag quilt washing. According to the information I read on the Internet the quilt has a lot more washings to go through before it truly rags up but I am very satisfied with the end result.

~~~~~~~~~


END NOTE:

The only thing I am really disappointed with is the pilling of the fabric. I have no idea how to get those balls off. I tried lint rollers but then haven't worked. A fellow quilter recommended a lint shaver. I've yet to buy one but I think I may pick one up. Anyway, my daughter loves the quilt and THAT is all that matters to me.

 ~~~~~~~~~


Quilt Back
Closeup Quilt Back

Friday, April 19, 2013

What is it about tumbling elephants that is just sew darn adorable???

I made this adorable baby quilt for a friend and I am very proud of how it turned out. I used this pattern here from Happy Dance Quilting blog as my inspiration. I changed it up a little bit but I am extremely pleased at the end results. I purchased a layer cake from my LQS, Buttonwood Quilts, as well as some matching yardage for the backing. The fabric line is called Good Morning! and it was made by Me and My Sister Designs for Moda. I cut the layer cake into four charm packs and used one of those charm packs plus part of a white charm pack for the top. The pink polka dot was a fabric from Joann Fabrics that has been in my stash for years and I think it was a great choice for a border and for the applique. The purple fabric was also a purchase from Joann Fabrics from years ago. It is great to finally break out some of those pieces and finally use them! I used a 5" tumbler template that I purchased from my favorite shop: Missouri Star Quilt Company.

Tumblers pieced with border
Finished product

Closeup of quilting and applique

applique

coordinating yardage for back

folded, tied, and ready to be delivered!

Thursday, February 21, 2013

Completed Table Topper

I finished this table topper a few weeks ago. This was my first fully finished quilted project and I am so proud of it! It started out as a lap quilt but of course I didn't take into account the seam allowances and it ended up as a table topper. I learned a lot of things on the way to completing this project.
I learned the importance of measurements (as I ran out of binding), the importance of seam allowances (which will obviously reduce the size of your finished product if you don't take that into account), the importance of ironing (which will make nesting and matching seams much easier), the importance of extra rotary blades (I messed up good fabric with dull blades), the importance of preparation (how many times I stopped to wind a bobbin and then ran out of thread), and so many more lessons.
This piece lives on a part of my desk in my cubicle at work where I keep my family pictures.
I bought the fabric from WalMart. I think I used one print charm pack and pieces out of a white charm pack that I had. I referenced several hourglass quilt tutorials to get the basic idea and then went to it. I used a solid matching backing piece.


The little contrast piece of my binding serves two purposes. It hides the fact that I ran out of binding and it is a  "signature"but I have to decide if I am going to hand embroider my name on it or fuse it to the piece.

Wednesday, February 20, 2013

Horse themed tote bag

A colleague of mine is not feeling so good and I wanted to make her something that would cheer her up. She is a horse lover so I decided to visit my local quilting shoppe, Buttonwood Quilts, and see if I could find some fabric with a horse theme. JACKPOT!! I found a couple of fat quarters that would do the trick! A horse theme, horseshoe, and two coordinating prints. I spent approximately $15 and I was able to make the tote bag plus I have leftover scraps that I can use later. Hmmm, a wristlet you say??? I shall have to ponder that...

In the meantime, check out the tote bag and tell me what you think. I didn't use a pattern and I made it up as I went along so the back and front aren't identical but I still use the same fat quarters.

Hopefully, tomorrow I can give the bag to her. For now, sleep! (Yes, it is 1:10 a.m. here!)

I also added a few metal studs to the bag.

Monday, February 18, 2013

Finally set up my Sewing Space!

Cork board/ white board

Storage unit and boxes from Target; printer on top; rotating spool holder will replace the bag of spools; puzzle magazines and quilt magazines in magazine holder

Lamp will be painted navy blue

Sewing table fully open; cross-stitch picture found at Goodwill; may or may not go on wall at some point

Annette's Sewing Space
I've never had my own sewing space. My sewing table sat and served as a BAR for years in my dining room, with my sewing machine stored safely under it. Yes, it had an ice bucket, cups, wine, soda, dessert plates, and other stuff. It WAS in the dining room after all. When I started sewing again, my entire dining table served as a space. It wasn't a good experience. BUT NO MORE! I moved my leather futon out of my extra bedroom/office and it is going to my mom's house along with a desk and a computer! I rolled my sewing table in, bought the cutest storage unit from Target and picked blue, red, and tan fabric boxes for it. Screwed a hook into the side of the table to hang my cutting mats and rulers when not in use! Set my printer on top of my cubbies and once my DH has built my rotating thread holder, it will go right next to it! Hung a corkboard/whiteboard up, organized all my craft books and stored them in the storage under the table. Using my piano seat to sit on. The lamp you see was being tossed away at work so I grabbed it and will paint it blue to match my colors. I originally painted it purple b/c it was going into the kids' room but they didn't want it so I took it back! When the table is fully opened I will use the left side to iron on and the right side to cut on. That is the plan but I haven't done a test run yet and I still need a power strip. The other half of the room you don't see is my DH's "side" because it has a tv and his computer. I'm thinking of bringing in my laptop stand in too so I can set up. It is a very tiny room but I love the space so much. My home theme is nautical so I think a lovely nautical wall hanging would make a nice touch! I am SEW excited!

Monday, January 21, 2013

Crafting Sets My Heart Free

Hello readers!

Have you ever sat down to work on something and got so engrossed with what you were doing that you that hours passed by before you knew it?

funny gifs

That often happens to me when I'm working on my crafts, which is why I choose to work on them at night after the kids have gone to bed. That way, I won't have to worry about them asking, "Um... mom... are we eating dinner tonight?" Big OOPS! (No worries, my children are well-fed.)

I sometimes have to force myself to unplug the iron or turn off the sewing machine, especially if I fall asleep in mid-stitch which can be quite dangerous.

Anyway, for the past couple of nights I haven't gone to bed until after midnight. It is so hard to tear myself away from it.

Working on something whether it be crochet, sewing, knitting, paper, etc. gives me such a feeling of fulfillment and satisfaction!!

To create something with my hands brings me such joy! Then, as a confirmation, the look on my kids' faces or the person who I present a gift to is all I need.

I don't think I've ever been this happy in my life.

I think I'll just sit here and enjoy this feeling for a bit longer.


Thursday, January 17, 2013

Welcome to my blog!

Welcome to my blog. I sincerely hope you enjoy your stay here. I am truly a newbie at this so please bear with me. I intend to use this blog as a diary of my crafting and quilting journey.

I am 37 and fairly new to quilting. I started one a few years back and never finished it. I just recently dove back in with arms wide open and I cannot tell you the joy and satisfaction it gives me.

I am going to add to this welcome post soon but I wanted to post a quick hello to my visitors!